Installing screens for digital signage can be a complicated and time-consuming process. To make this task easier, we have created a step-by-step guide to screen installation. This guide covers the necessary steps to set up digital signage displays, from selecting the right display screens and digital signage players, to running network cabling and configuring the system. We’ll also provide tips on how to troubleshoot any problems that may arise. Read on to learn more about setting up digital signage displays.
Choosing the Right Display Screens for Your Digital Signage
Choosing the right display screens for your digital signage is a crucial step in ensuring an effective and visually appealing display. With a wide variety of options available on the market, it can be overwhelming to determine which screens will best meet your needs. However, by considering a few key factors, you can make an informed decision that will maximise the impact of your digital signage.
Firstly, it’s important to consider the size of the display screens. Think about the location where your digital signage will be installed and the distance at which viewers will be standing or sitting. A larger screen may be more suitable for a large open space, while a smaller screen might be more appropriate for a narrow hallway or crowded area.
Secondly, think about the resolution of the screens. High resolution screens will provide a crisp and clear display, ensuring that your content looks sharp and professional. It’s worth investing in screens with at least Full HD resolution (1080p) or even higher, depending on the quality of your content and the viewing distance.
Another important factor to consider is the type of screen technology. LED screens offer bright and vibrant colors, making them ideal for indoor environments. On the other hand, LCD screens are a more affordable option and are suitable for indoor and outdoor installations. Additionally, there are also OLED screens, which provide deep blacks and excellent contrast for a truly immersive viewing experience.
Consider the aspect ratio of the screens as well. Most digital signage content is designed for widescreen (16:9) format, but there may be instances where a different aspect ratio, such as 4:3 or even a custom aspect ratio, is required. Be sure to choose screens that are compatible with the aspect ratio of your content to avoid any distortion or cropping.
Lastly, take into account the durability and lifespan of the screens. Look for screens that are built to withstand the rigors of continuous operation, particularly if you plan on displaying content 24/7. Screens with a longer lifespan will save you money in the long run, as you won’t have to replace them as frequently.
Installing Digital Signage Players for Seamless Performance
Installing digital signage players is a crucial step in ensuring a seamless and high-performance digital signage system. These players serve as the brains behind the operation, delivering and managing your content on the display screens. To ensure seamless performance, follow these steps:
- Determine the number of players needed: Consider the number of display screens and the content you plan to display. Each screen may require its own player, or multiple screens can be connected to a single player if they are in close proximity.
- Choose the right type of player: There are different types of digital signage players available, such as media players, PC-based players, and cloud-based players. Evaluate your specific needs and budget to select the most suitable option.
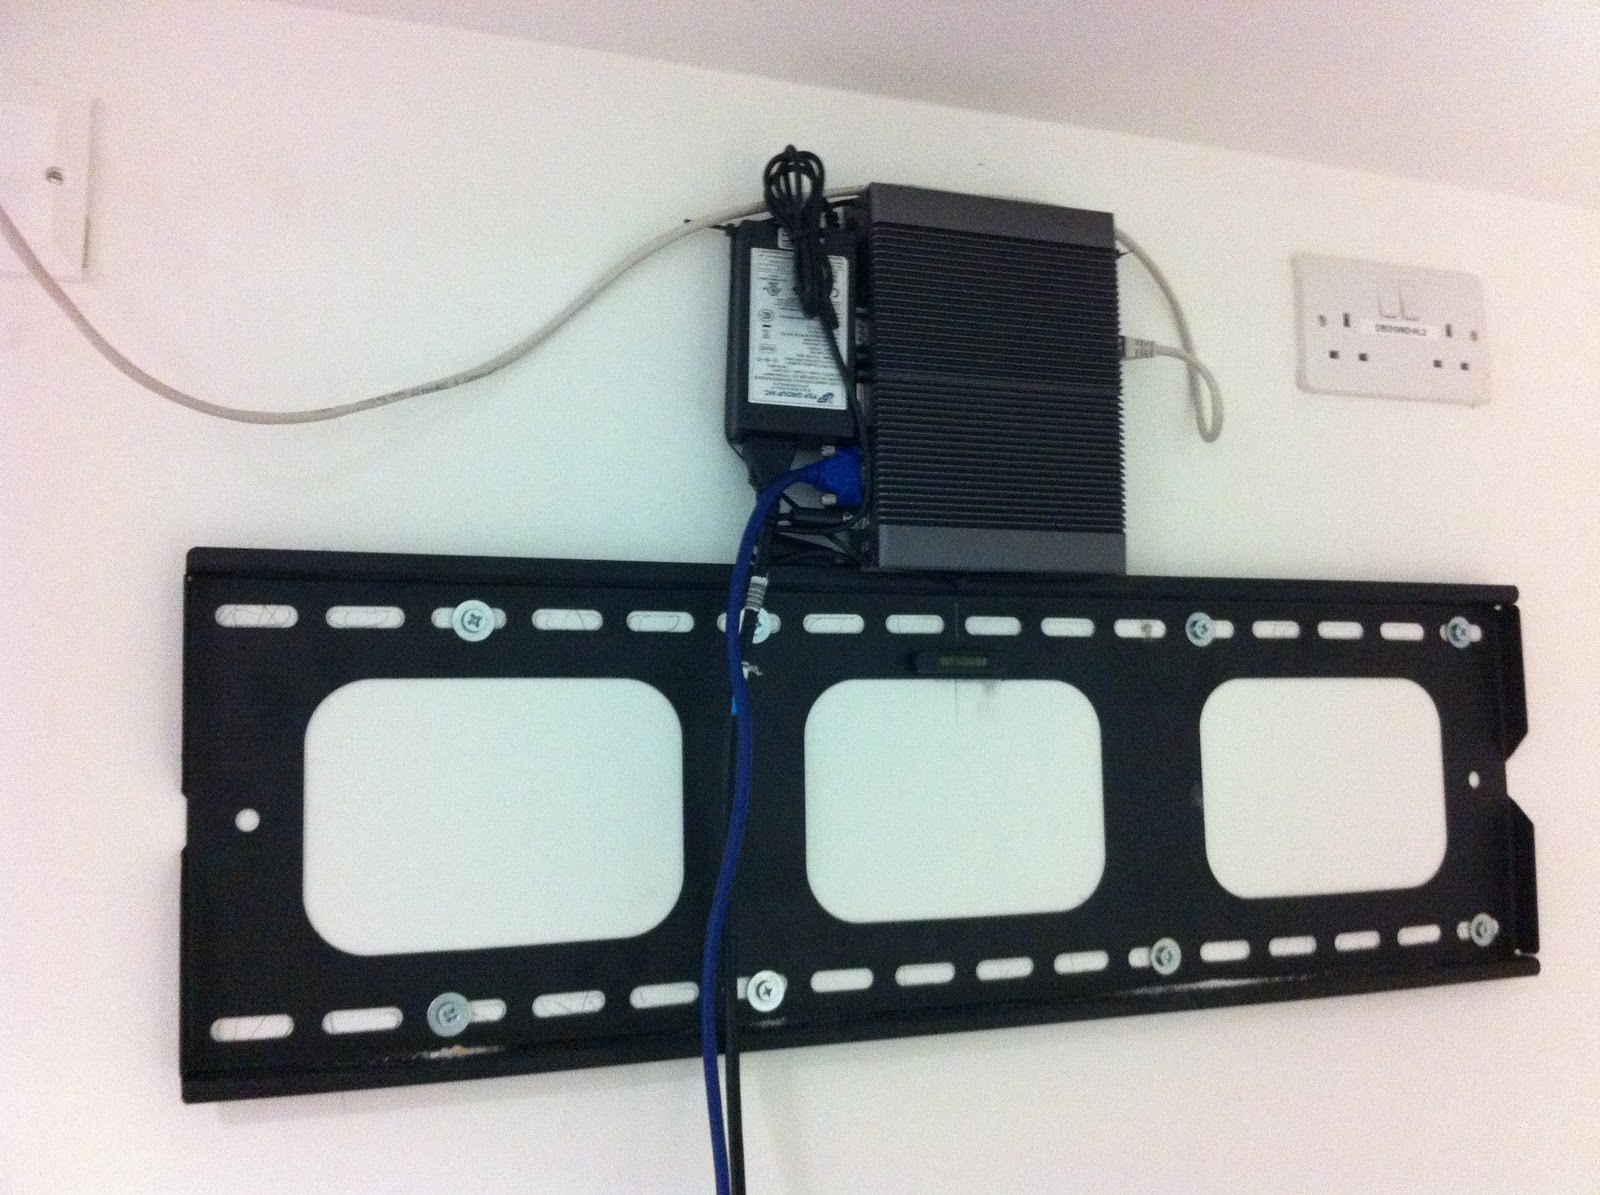
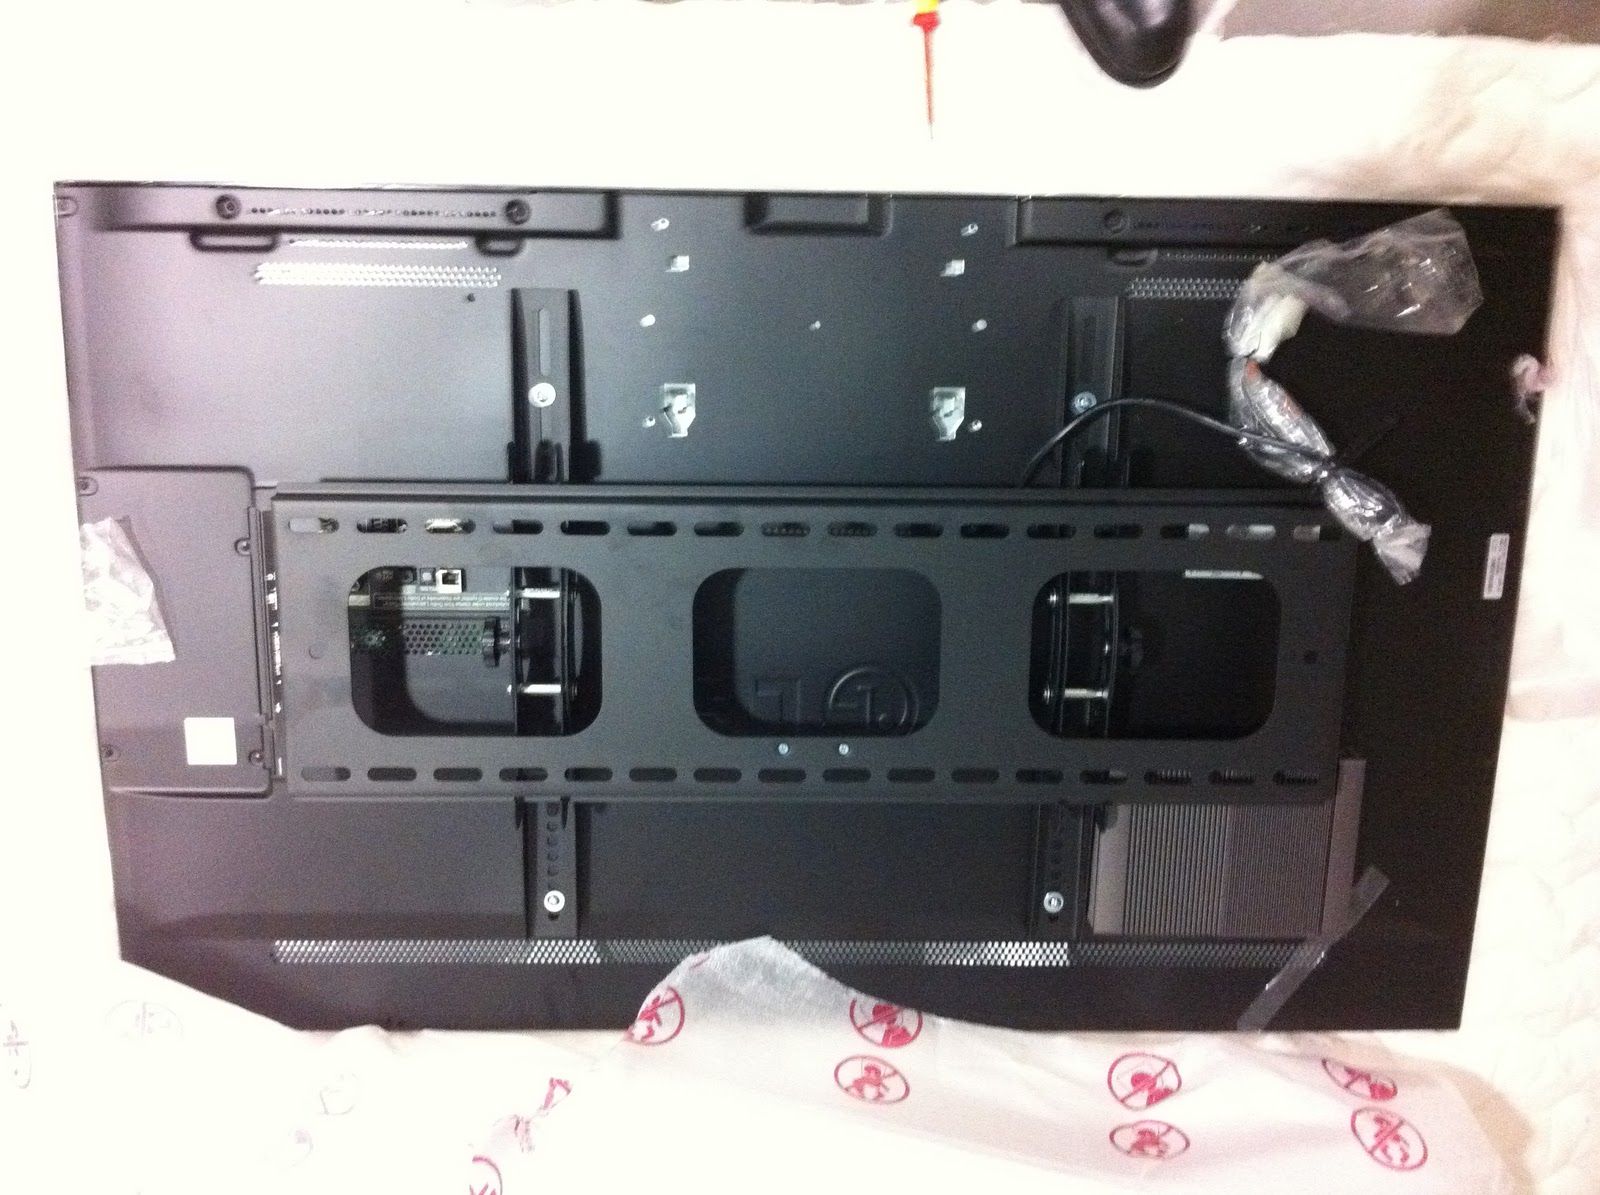
- Install the players: Once you have chosen the players, follow the manufacturer’s instructions for installation. This typically involves connecting the player to the display screen via HDMI or other compatible cables. Make sure the player is securely attached to the screen or mounted in a suitable location.
- Configure the players: After installation, you will need to configure the players to connect to your content management system (CMS). This may involve entering network settings, IP addresses, or login credentials. Follow the instructions provided by the player manufacturer or consult the CMS documentation for guidance.
- Test the players: Before going live with your digital signage, it is crucial to thoroughly test the players. Ensure that they are properly connected to the CMS and are able to display content correctly. Test various types of content, such as images, videos, and interactive elements, to ensure everything works smoothly.
Running Network Cabling for Reliable Connectivity
Running network cabling is a crucial step in ensuring reliable connectivity for your digital signage system. Without a solid network infrastructure, your screens may experience interruptions or fail to display content properly. To ensure a smooth and seamless connection, follow these steps:
- Plan your network layout: Before running any cables, map out the physical layout of your space and determine the best routes for running the cabling. Consider factors such as distance, potential obstacles, and accessibility to ensure efficient installation.
- Choose the right cables: Selecting the right type of cables is essential for reliable connectivity. Ethernet cables, specifically Category 5e or higher, are commonly used for digital signage installations. These cables provide fast and stable data transmission, ensuring your screens are consistently connected to your content management system.
- Run the cables: Once you have planned your network layout and chosen the appropriate cables, it’s time to physically run the cables. Be sure to secure them properly to prevent any tripping hazards or accidental damage. If needed, consult a professional installer to ensure proper cable management.
- Connect the cables: Once the cables are in place, connect them to the digital signage players and network switch or router. Ensure that all connections are secure and properly terminated to avoid any signal loss.
- Test the connectivity: After running and connecting the network cables, it’s crucial to test the connectivity of your digital signage system. Verify that all screens are properly receiving and displaying content from the content management system. Check for any latency issues, intermittent connectivity, or other network-related problems.
Mounting and Positioning Your Display Screens
Now that you have chosen the perfect display screens for your digital signage, it’s time to mount and position them for optimal impact. Mounting and positioning your display screens requires careful consideration of the viewing angle, height, and placement in your space.
Start by determining the optimal viewing angle for your screens. Consider where your audience will be positioned and ensure that the screens are angled in a way that allows for easy readability and visibility. Avoid mounting the screens too high or too low, as this can strain viewers’ necks or make the content difficult to see.
Next, consider the height at which you want to mount the screens. This will depend on the location and purpose of your digital signage. If you are installing screens in a hallway or narrow space, mounting them at eye level may be the best option. On the other hand, if your screens will be placed in a larger open space, mounting them at a higher height can attract more attention and provide better visibility from a distance.
When it comes to placement, consider the flow of foot traffic and the overall layout of your space. Place your screens in high-traffic areas where they will be easily seen by your target audience. You can also consider installing multiple screens in different locations to maximize the reach and impact of your digital signage.
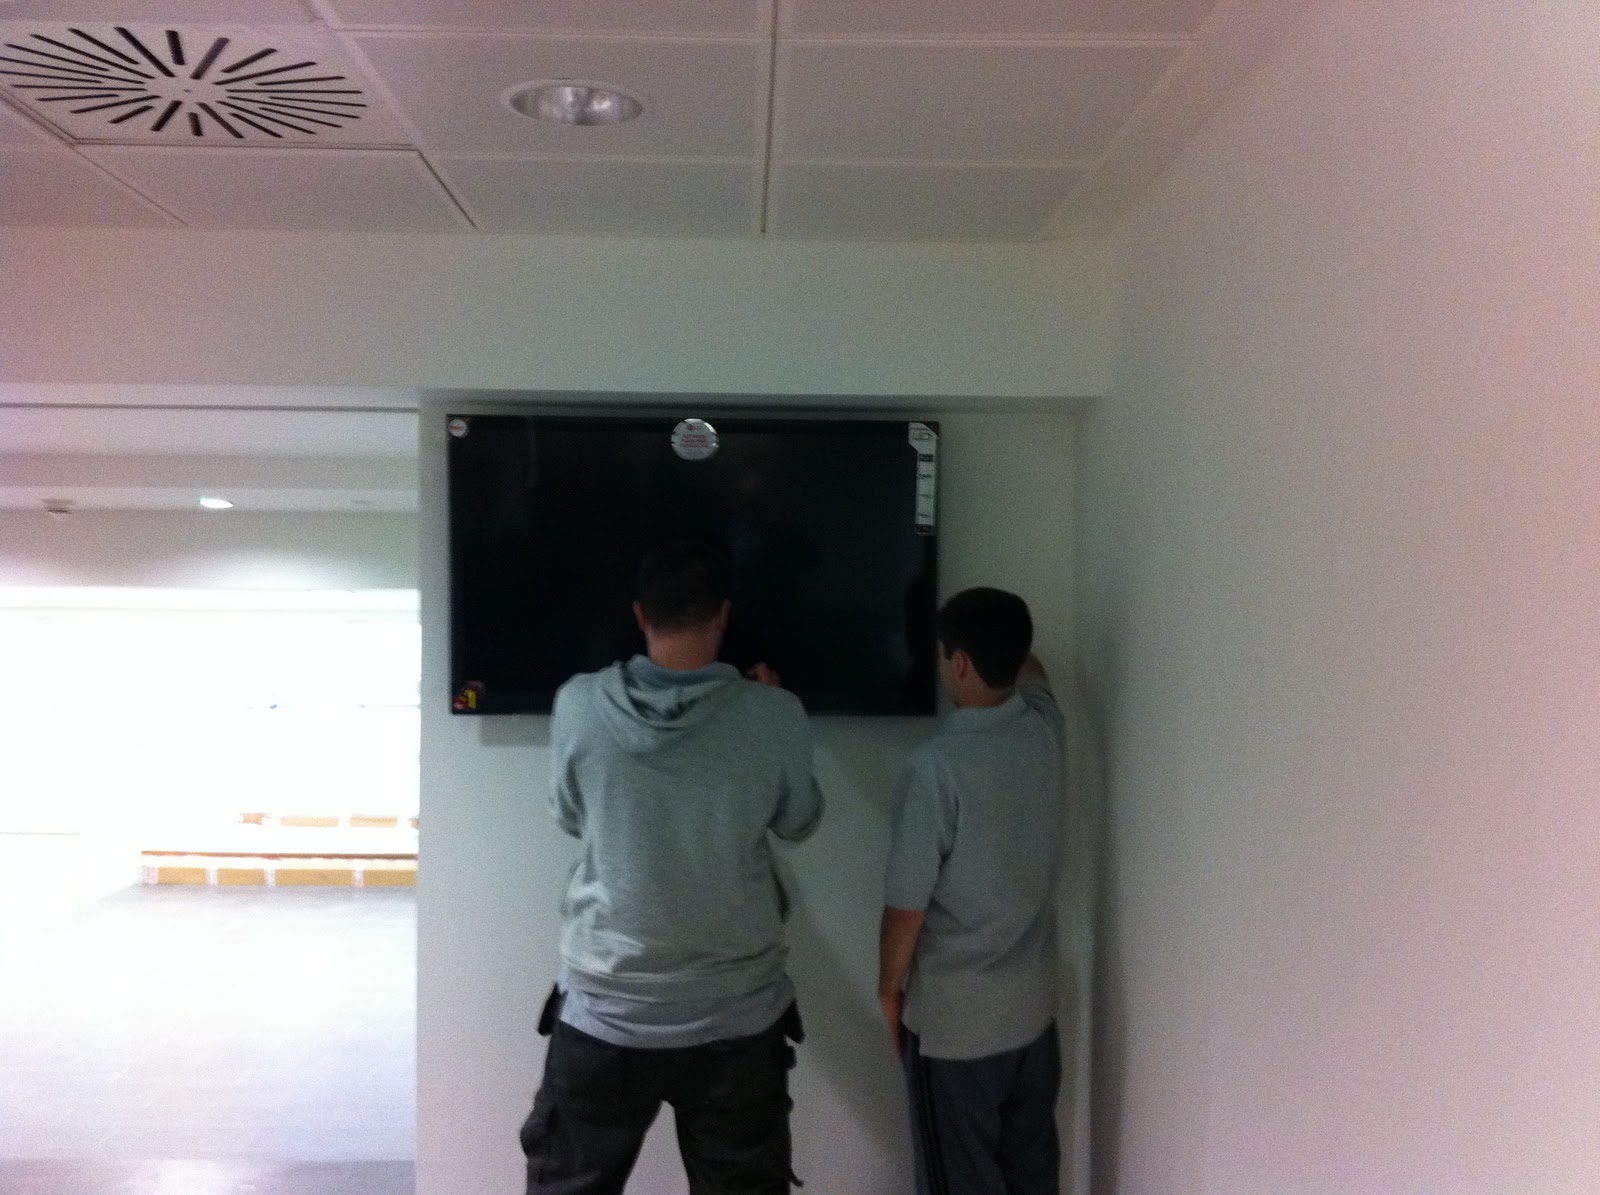
Finally, ensure that the screens are securely mounted to the wall or other mounting surface. Use the appropriate mounting brackets and follow the manufacturer’s instructions for installation. Double-check that the screens are level and stable to avoid any accidents or damage.
Testing Your Digital Signage Hardware for Optimal Performance
After successfully installing your digital signage hardware, it’s important to thoroughly test it for optimal performance. Testing your digital signage hardware will help ensure that everything is functioning correctly and that your audience will have a seamless experience. Here are some key steps to follow during the testing phase:
- Verify connectivity: Confirm that all screens are properly connected to the digital signage players and that the players are connected to your content management system. Check for any latency issues or intermittent connectivity problems. Ensure that content is being delivered smoothly and without any disruptions.
- Test different types of content: Display various types of content, such as images, videos, and interactive elements, to ensure that they are all being displayed correctly on the screens. Pay attention to the quality and resolution of the content to ensure it meets your expectations.
- Check for alignment and display settings: Take a step back and observe the screens from different angles. Check for any misalignment or display settings that need to be adjusted. Ensure that the screens are displaying the content in the way you intended and that everything looks visually appealing.
- Test responsiveness and interactivity: If your digital signage includes touch screens or interactive elements, test their responsiveness and functionality. Check if users are able to interact with the content smoothly and that the touch screen is accurately registering their input.
- Monitor performance over time: Leave your digital signage system running for an extended period of time and monitor its performance. Keep an eye out for any glitches, freezing, or other issues that may arise. This will help you identify any potential problems that need to be addressed before going live.


